Luke Reichelt
Well-known member
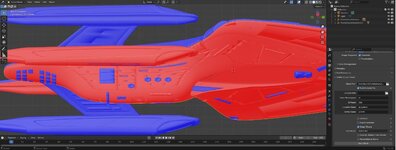
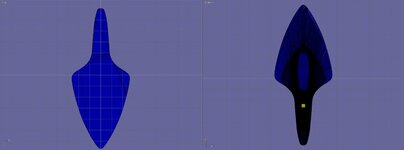
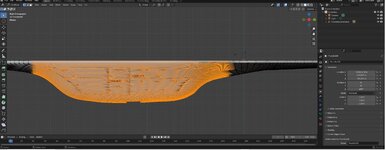
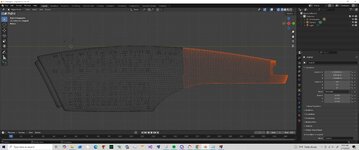
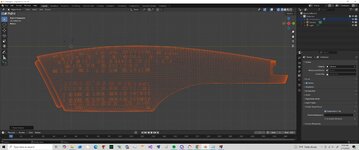
I don't know much about 3D modelling, but judging by the screenshots, I suspect that the Olympic (and also possibly the Steamrunner) may have similar issues as the Prometheus.It is just one of 10-12 @Luke Reichelt has asked for
Last edited:


")